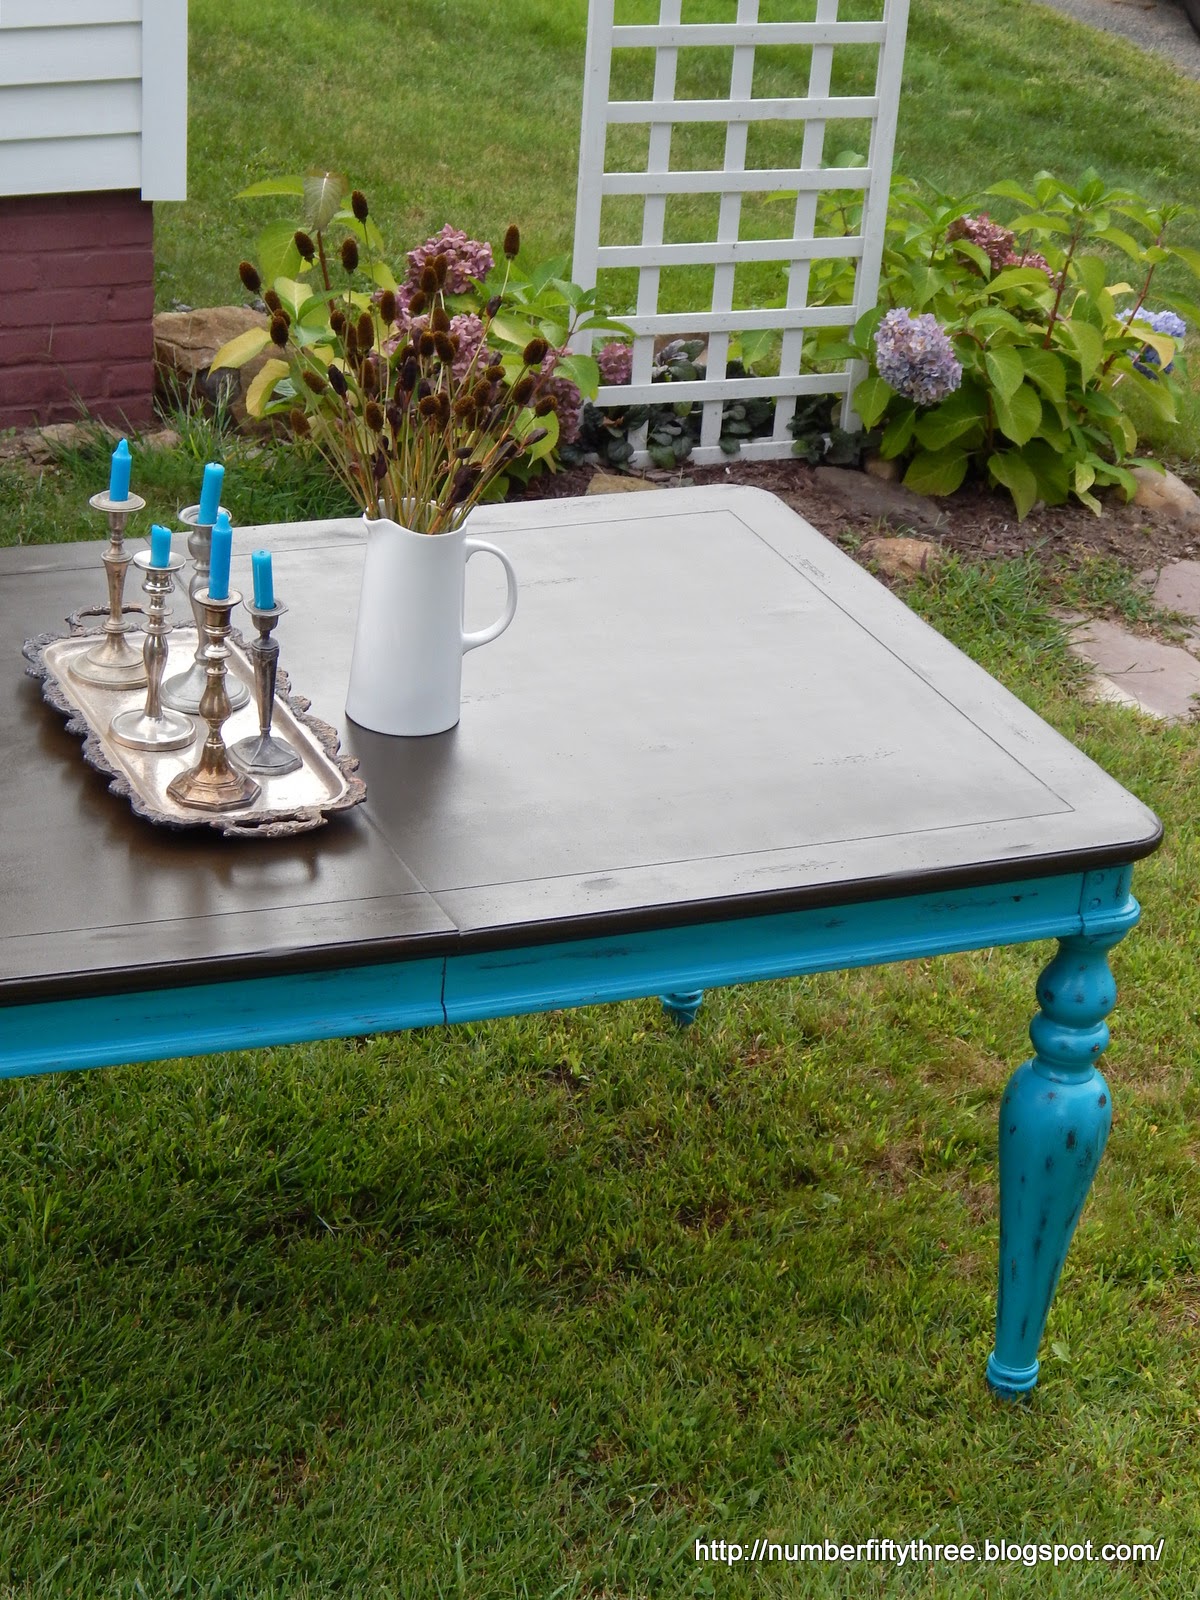
OK guys. I'm going to share with you a super, super tough custom order I recently finished and why it is always important to have a back up plan because sometimes painting furniture can seriously throw you a curveball. (P.S. This is also applicable for everyday life...always have a Plan B. Always.)
So, first of all this table is seriously sturdy and heavy. Like crazy heavy. And I was asked to do a super distressed turquoise base with a dark stained top. I loved the combo and you all know that anything that is in the turquoise/aqua family makes me super happy so I was extra excited for this project
My first step was to sand the top, which the owners has already begun. It was time consuming for sure, but overall very manageable. After sanding, cleaning and more prep I stained the top. Now this is not my first time staining. It always makes me a tad nervous, but I always get excellent results. Until this time, when it was a complete disaster. The veneer top of the table had the most uneven grain. Plus, the factory primer was so ingrained that although to the naked eye it look more than adequately sanded, there were still remnants left behind. And it ended up looking like this...
Yeah. I died a little that day. I mean, that is a complete disaster, right? Sometimes it is better to completely scrap your plans, walk away and reassess. Which is what I did.
I'm going to call that table unstainable. Here is the thing about working on vintage or antique pieces...you can have the best plan, but furniture is unpredictable and you never really know what you will find when you sand it down, or how the wood will react to whatever treatment you use.
In the end, I got the top to look like this...

...beautifully even and in a deep, espresso brown. After scraping the idea of staining, I quickly sanded the top and painted two coats of this rich, gorgeous color to mimic the original inspiration of a stained top.
The base and legs also got a coat of the espresso brown and then was topped with this vibrant turquoise.
I then hand sanded the base and legs to give it a rustic, time worn look.
I am completely in love with the outcome. The road getting there was a bit of a challenge. Have you ever had a painting or staining disaster? I know I 'm not alone in this! Leave me a comment and share your story

Linking to...
DIY Showoff Between Naps on the Porch Mod Vintage Life Cozy Little House Elizabeth and Co. A Delightsome Life French Country Cottage Common Ground Jennifer Rizzo From My Front Porch To Yours No Minimalist Here Savvy Southern Style Miss Mustard Seed A Stroll Through Life Redoux The Winthrop Chronicles Inspiration Exchange The Inspiration Gallery Work it Wednesday Finding Silver Pennies


love it- that base is stunning!
ReplyDeleteAll's well that ends well! It turned out beautifully!
ReplyDeleteI had a major staining disaster on my own kitchen table. Last summer I sanded the top down and painted all the chairs and legs black. They are fine but the top is still a mess. We sanded it to the bare wood and used poly shades in a dark espresso color. It looked good and I put two coats of that on. I then used a clear poly on it because it's a dining table. It looked fine but there was an area of cloudiness. I then put another coat of polyshades to get rid of the cloudy spots and the entire table is now cloudy and those spots are super shiny! I still have no idea what we did. I let it dry and followed the directions. It was my first (and only time)staining something. My husband wants to fix it but I don't know where to start. Do we strip it and start all over and only use one coat this time, or do we sand it and start all over? ugh...I'm okay with how it looks for now, it's just kind of cloudy and not shiny. Any ideas?
ReplyDeleteYour table looks great, by the way! Kudos to you for fixing it.
I feel your pain - I have had several staining fails. Great save with the expresso brown paint.
ReplyDeleteI can't believe the before and it turned out so pretty
ReplyDeleteAwesome outcome!!
ReplyDelete